

Now that the holidays are in full swing, I've been well into my annual baking frenzy. Every year I usually try one or two new ideas in the hopes of adding a gem of a recipe into my seasonal baking repertoire. This year, I decided to make my own version of Millionaire Shortbread. If you haven't heard of these squares before, they're a wonderful triple layer dessert bar with a base layer of buttery shortbread, a second layer of chewy caramel and a final layer of melted chocolate swirled on top. Essentially, this is the closest you'll get to a homemade Twix chocolate bar. In the words of Ina Garten; "how could that be a bad thing?".
When testing this recipe, I decided to add some whole wheat flour to my shortbread base. It adds a slight nuttiness and I wanted a little hint of graham cracker type flavour to my shortbread, and graham crackers are typically made with whole wheat flour. Obviously, this is not traditional, but no one's going to call the shortbread police (well... at least I don't think so...) Either way, if you wanted to use all white flour, that would work just fine.
When researching how to make Millionaire Shortbread Bars, almost every recipe I came across used an entire can of sweetened condensed milk. I came across one recipe in which the cook made a caramel sauce that was cooked to the soft ball stage to ensure it had the requisite firmness. While I found this method had great flavour and colour, the caramel was just a little too tough and stretchy (not usually a problem for me). When I bit into the bars, the shortbread would crumble and separate from the caramel layer. It ended up with caramel being the dominant flavour instead of all three layers melding together in one perfect bite. While I wanted the layers to be distinct, I also wanted them to be cohesive and not make a mess when eaten. Ultimately, I found that you really need the sweetened condensed milk to create the perfect caramel with the right consistency for this recipe. When you combine the condensed milk and the butter, this isn't a low calorie recipe. However, it's a once a year treat, so I'd rather get the caramel right rather than worry about the fat content.
I cooked the caramel longer than most recipes I came across to ensure a nice deep colour and flavour. I found as long as I whisked constantly, the caramel didn't burn or stick to the bottom of the pan. I will concede, this step takes a little time and attention, but it's well worth it for the end result. In my opinion, too pale a caramel falls in with an over cooked fried egg or flabby chicken skin.
I cooked the caramel longer than most recipes I came across to ensure a nice deep colour and flavour. I found as long as I whisked constantly, the caramel didn't burn or stick to the bottom of the pan. I will concede, this step takes a little time and attention, but it's well worth it for the end result. In my opinion, too pale a caramel falls in with an over cooked fried egg or flabby chicken skin.
For the final chocolate layer, I decided to use dark chocolate as opposed to milk or a combination of both. I personally like the contrast of flavours between the rich caramel and slightly bitter chocolate. I tend to favour recipes with complex yet balanced flavours, especially in desserts, so as to not make the final product too sweet. However, if you really like the idea of milk chocolate, go ahead and use it instead. The bars will end up more true to the flavour of commercial Twix bars, not to mention; if you're cooking for kids, they usually prefer milk chocolate.


I must say, I'm really glad I tinkered with making these squares. I'm thrilled to have another option to add to my holiday baking or to bring out for a special occasion. Here's my version:
Millionaire Shortbread Recipe:
What you will need:
-9x9 square baking tin
-Parchment paper
-Small metal offset spatula (though a rubber spatula will work too)
-Whisk
-Rubber Spatula(s)
-Heat proof glass or metal bowl
-Medium sized saucepan
-Kitchen scale for measuring the chocolate (which will provide a more accurate measurement). I've added measurement in cups as well.
Preheat oven to 350F.
Shortbread Ingredients (first layer):
3/4 cup salted butter, at room temperature
1/2 cup granulated sugar
1 teaspoon of pure vanilla extract
3/4 cup white all purpose flour
1/4 whole wheat flour
1 tablespoon of cornstarch
Small pinch of salt (optional)
Shortbread Method:
Line 9x9 baking tin with parchment paper so that it goes up over the sides of the tin. This way, it makes lifting the finished squares out of the tin much easier later.
Cream the butter with granulated sugar in a medium sized mixing bowl or in a stand mixer using the paddle attachment. Add vanilla and mix until combined and the dough is starting to form into a ball.
Add both flours, cornstarch and pinch of salt (no need to sift dry ingredients in this recipe) and mix until combined. The reason I say the salt is optional is because I opted to use salted butter for this recipe. I found the shortbread still needs a hint more salt since it's being paired with a sweet caramel and chocolate. I'm normally a stickler for using unsalted butter when baking, however I do find the salted butter somehow creates a flakier texture to the shortbread. If you prefer to use unsalted butter, please just make sure to add 1 teaspoon of salt (kosher or sea salt, do not use fine table salt please) to the recipe in place of the small pinch listed above.
Add the dough to the prepared tin and spread out to the corners in an even layer (using a small metal offset spatula and/or your fingers). Dock the dough with the tines of a fork and chill in the fridge for 1 hour. I find this is a necessary step to ensure the shortbread doesn't bubble and cook unevenly. If you skip this step and put the shortbread straight into the oven, it won't be a disaster. However, the layers may not end up looking as sharp once the recipe is complete and cut into squares.

Bake for 12 to 15 minutes (depending on your oven) or until slightly golden and cooked in the middle. I also found half way through cooking, quickly taking the tin out of the oven and docking the shortbread once again with the tines of a fork, helped to ensure a super even bake.

Let the cooked shortbread rest at room temperature while you get on with the caramel layer.
Caramel Ingredients (second layer):
1 cup unsalted butter
1 can of sweetened condensed milk
1/2 cup brown sugar
2 tablespoons of golden syrup
Pinch of salt
1 teaspoon pure vanilla extract
Caramel Method:
Melt the butter in a medium sized saucepan, then add the remaining ingredients except the salt and vanilla.
Bring the mixture to a simmer, turn down the heat slightly and then whisk, whisk, whisk. It's not necessary to whisk so hard that you give yourself a heart attack. However, you do need to whisk constantly until the caramel has thickened quite a bit (when you lift the whisk out of the pan, a large amount of the caramel will cling to the whisk and then fall off in one large clump). This will take probably around 7 to 10 minutes of whisking depending on your stove. This step isn't difficult or stressful, just a takes little time and attention.
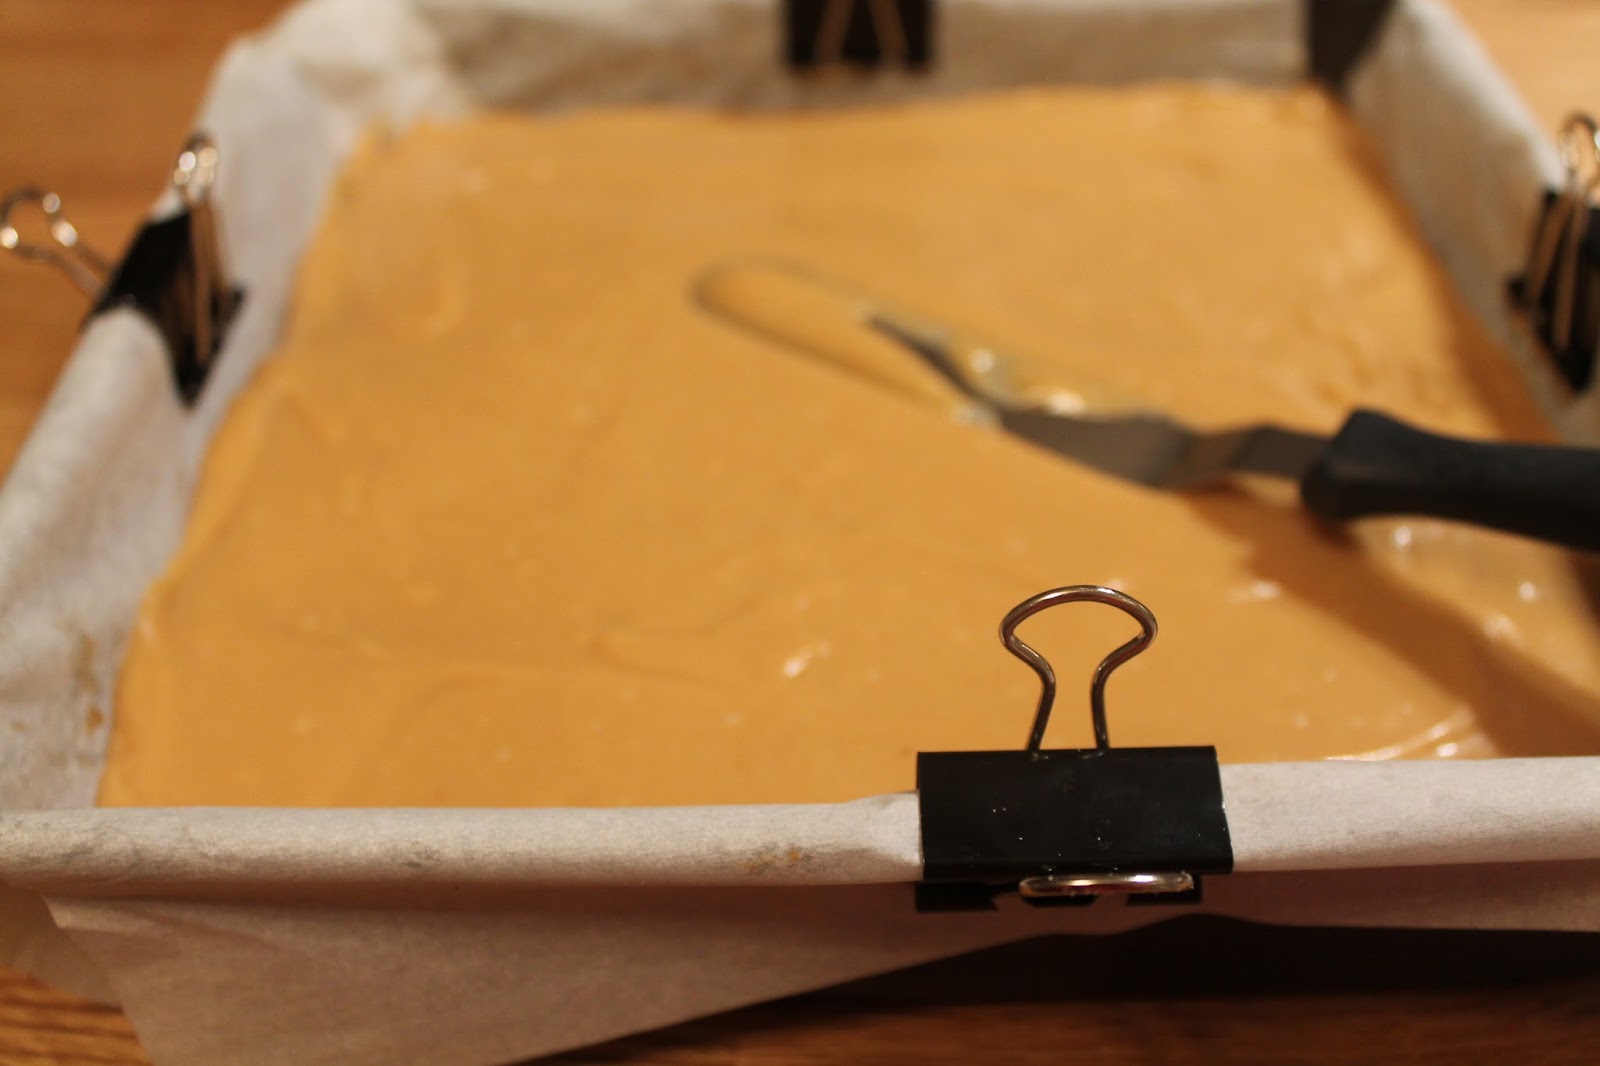
Once the caramel has properly thickened and developed a nice caramel colour, add the vanilla and salt and whisk for a few seconds to combine (if you add these ingredients to early their flavour will be lost while the caramel cooks). Then pour the caramel over top of the already baked shortbread. You will need to have a rubber spatula on hand to scrape the caramel off the sides and bottom of the saucepan. Smooth the mixture out to all the corners and spread into a nice even layer (I use the small offset spatula for this too). Then place the tin in the fridge while you melt the chocolate for the final layer.

Chocolate Ingredients (final layer):
4 1/2 oz, 130 grams or 1/2 cup (use your preferred method of measuring) of chocolate
1 tablespoon of un-salted butter
Sea salt for sprinkling on top (optional)
Chocolate Method:
Chop the chocolate into small chunks and place in heat proof bowl. Place the heatproof bowl over a saucepan with barely simmering water inside. Let the chocolate gently melt, mixing with a rubber spatula occasionally. Alternatively, place the heat proof bowl of chopped chocolate in the microwave and heat in 30 second intervals stirring each time, until melted. Add the butter and stir until melted and combined. The butter will ensure the chocolate is slightly softened, so it doesn't crack apart when the squares are bitten into. Pour the melted chocolate over the caramel layer and smooth and swirl the chocolate to completely cover the caramel.

Sprinkle some sea salt over top the chocolate and place the tin back in the fridge to completely set up; a few hours or overnight. You could leave off the sea salt garnish if you wish, but I absolutely love the hint of saltiness with caramel. Slice into squares and your in business!
Happy Holiday baking!

What you will need:
-9x9 square baking tin
-Parchment paper
-Small metal offset spatula (though a rubber spatula will work too)
-Whisk
-Rubber Spatula(s)
-Heat proof glass or metal bowl
-Medium sized saucepan
-Kitchen scale for measuring the chocolate (which will provide a more accurate measurement). I've added measurement in cups as well.
Preheat oven to 350F.
Shortbread Ingredients (first layer):
3/4 cup salted butter, at room temperature
1/2 cup granulated sugar
1 teaspoon of pure vanilla extract
3/4 cup white all purpose flour
1/4 whole wheat flour
1 tablespoon of cornstarch
Small pinch of salt (optional)
Shortbread Method:
Line 9x9 baking tin with parchment paper so that it goes up over the sides of the tin. This way, it makes lifting the finished squares out of the tin much easier later.
Cream the butter with granulated sugar in a medium sized mixing bowl or in a stand mixer using the paddle attachment. Add vanilla and mix until combined and the dough is starting to form into a ball.
Add both flours, cornstarch and pinch of salt (no need to sift dry ingredients in this recipe) and mix until combined. The reason I say the salt is optional is because I opted to use salted butter for this recipe. I found the shortbread still needs a hint more salt since it's being paired with a sweet caramel and chocolate. I'm normally a stickler for using unsalted butter when baking, however I do find the salted butter somehow creates a flakier texture to the shortbread. If you prefer to use unsalted butter, please just make sure to add 1 teaspoon of salt (kosher or sea salt, do not use fine table salt please) to the recipe in place of the small pinch listed above.
Add the dough to the prepared tin and spread out to the corners in an even layer (using a small metal offset spatula and/or your fingers). Dock the dough with the tines of a fork and chill in the fridge for 1 hour. I find this is a necessary step to ensure the shortbread doesn't bubble and cook unevenly. If you skip this step and put the shortbread straight into the oven, it won't be a disaster. However, the layers may not end up looking as sharp once the recipe is complete and cut into squares.

Bake for 12 to 15 minutes (depending on your oven) or until slightly golden and cooked in the middle. I also found half way through cooking, quickly taking the tin out of the oven and docking the shortbread once again with the tines of a fork, helped to ensure a super even bake.

Let the cooked shortbread rest at room temperature while you get on with the caramel layer.
Caramel Ingredients (second layer):
1 cup unsalted butter
1 can of sweetened condensed milk
1/2 cup brown sugar
2 tablespoons of golden syrup
Pinch of salt
1 teaspoon pure vanilla extract
Caramel Method:
Melt the butter in a medium sized saucepan, then add the remaining ingredients except the salt and vanilla.
Bring the mixture to a simmer, turn down the heat slightly and then whisk, whisk, whisk. It's not necessary to whisk so hard that you give yourself a heart attack. However, you do need to whisk constantly until the caramel has thickened quite a bit (when you lift the whisk out of the pan, a large amount of the caramel will cling to the whisk and then fall off in one large clump). This will take probably around 7 to 10 minutes of whisking depending on your stove. This step isn't difficult or stressful, just a takes little time and attention.
Once the caramel has properly thickened and developed a nice caramel colour, add the vanilla and salt and whisk for a few seconds to combine (if you add these ingredients to early their flavour will be lost while the caramel cooks). Then pour the caramel over top of the already baked shortbread. You will need to have a rubber spatula on hand to scrape the caramel off the sides and bottom of the saucepan. Smooth the mixture out to all the corners and spread into a nice even layer (I use the small offset spatula for this too). Then place the tin in the fridge while you melt the chocolate for the final layer.
Chocolate Ingredients (final layer):
4 1/2 oz, 130 grams or 1/2 cup (use your preferred method of measuring) of chocolate
1 tablespoon of un-salted butter
Sea salt for sprinkling on top (optional)
Chocolate Method:
Chop the chocolate into small chunks and place in heat proof bowl. Place the heatproof bowl over a saucepan with barely simmering water inside. Let the chocolate gently melt, mixing with a rubber spatula occasionally. Alternatively, place the heat proof bowl of chopped chocolate in the microwave and heat in 30 second intervals stirring each time, until melted. Add the butter and stir until melted and combined. The butter will ensure the chocolate is slightly softened, so it doesn't crack apart when the squares are bitten into. Pour the melted chocolate over the caramel layer and smooth and swirl the chocolate to completely cover the caramel.

Sprinkle some sea salt over top the chocolate and place the tin back in the fridge to completely set up; a few hours or overnight. You could leave off the sea salt garnish if you wish, but I absolutely love the hint of saltiness with caramel. Slice into squares and your in business!
Happy Holiday baking!

No comments:
Post a Comment
Thanks for taking the time to comment! I look forward to reading your thoughts and feedback. Take care.